
Suz here with a tutorial on a little mini album I made using the scraps from this month's kit! (And, just as an aside-- there wasn't much left to scrap with given all of the "goodness" in the kit! I used up very nearly all of it!)
1. GATHER: The first thing I did was to gather up my scrap remnants from the kit along with a few trusty tools, adhesive, and my Instax camera. (Love it! A quick and easy way to knock out a mini album in short order).
PLEASE NOTE: Don't worry if you don't have this camera. You can get wallet sized prints ordered online, at your local developer, OR...you can just print out a collage sheet of small pics at home using a photo-editing program like Photoshop or Photoshop Elements. If there is enough interest, I might be able to put together a short tutorial of how to print out a collage of smaller prints that would fit this album.
*Leave a comment here on the blog, if you are interested in a tutorial or if you'd like to see the rest of the album.*

2. FRONT COVER: For the cover of my album I used remnant pieces of the lightweight 6x6 wooden paper that comes with the March 12 x 12 paper kit. (Remember, there is also a "mini album" kit option that contains an adorable Cosmo Cricket 4x6 black album. So for those of you who order that kit-you are already
"good to go" on the foundation of your album! :)
I trimmed two pieces of the wooden paper to 2.5 x 4 inches. This allowed room to punch holes at the top (using my Crop-A-Dile Big Bite punch tool) and room to house my Instax pics.
3. MIST: I misted the front cover with a "peacock blue" color and added some patterned paper, stickers, and embellies.


4. ASSEMBLE: I then cut out several pieces of patterned papers and glued them back to back, punching holes at the top of each. It helps to use the first page with punch holes as a guide for aligning up the next holes you punch, to ensure that they are all even and "stack up" nicely.
5. CAPTURE: Since I was making this album to commemorate "Twelve" of my eldest son's favorite things "At Twelve," I went around the house with my Instax camera and captured twelve different images that represented what my son is "into" at this time in his life. (Another idea: You could also take twelve pics on the twelfth day of the month and document images from that day in a mini album).
5. CAPTURE: Since I was making this album to commemorate "Twelve" of my eldest son's favorite things "At Twelve," I went around the house with my Instax camera and captured twelve different images that represented what my son is "into" at this time in his life. (Another idea: You could also take twelve pics on the twelfth day of the month and document images from that day in a mini album).


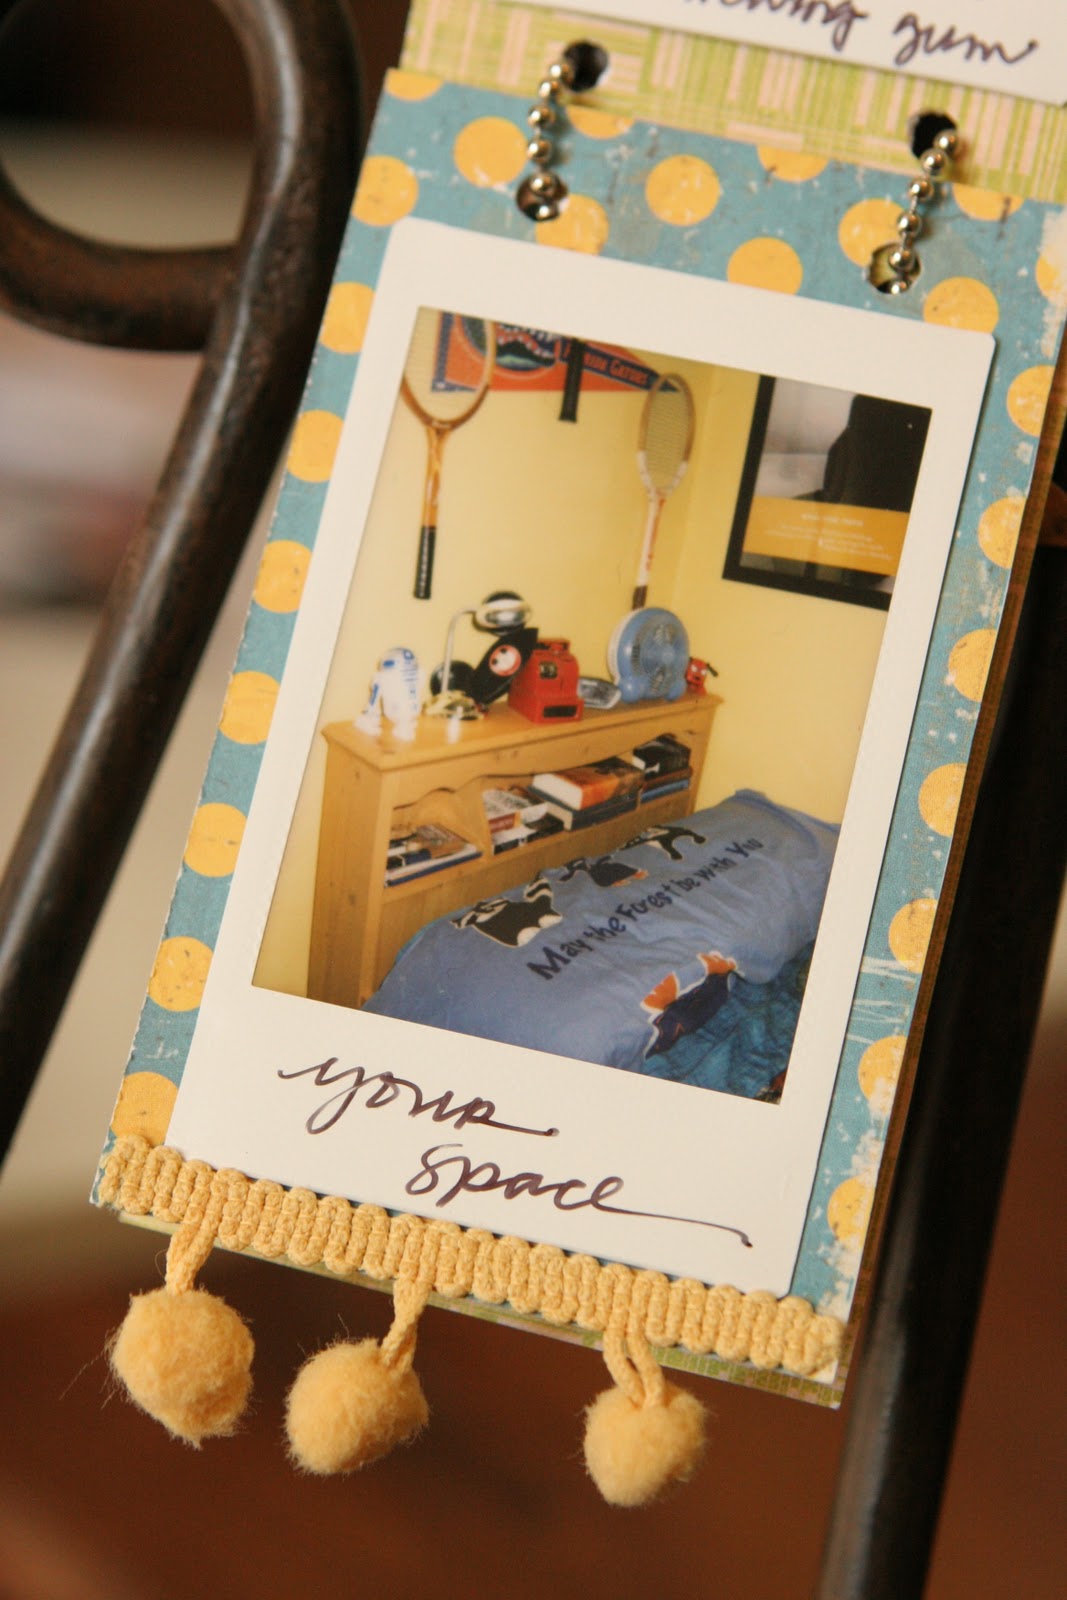


7. BACK COVER: For the back cover (which really could've been the front-lol) I punched out several hearts using punches from my stash. I arranged them to my liking and then used them as a mask to mist over. For the pink heart at the bottom, I punched a heart from a sheet of paper and lined up the negative (punched out area) of the heart over the"original wood colored" heart. Making sure the rest of my back cover was completely covered with this paper (to protect the area already misted with the blue mist), I then misted with a red color. I sprayed the originally white number "12" stickers to match the back cover as well. Misting is one way of stretching your kit(s) to the maximum. You can mist your white stickers to custom match them to your layouts and projects! Misting is tons of fun too! :)
Since I was making this for my near-teenage son, I opted to use an "on-hand" masculine looking dog tag chain that I easily cut down to size to bind it all together.
And there you have it! One mini album completed in an hour or two. Near instant gratification and a great way to document the things and people that are important to your loved one at one moment in time!!
Check back here or over at Freehand Scraps later for more reveals, more tutorials, and more inspirational ideas for your kits.
Happy Scrapping!
Suz :)
What a gorgeous mini!!! I love it! i think I will be trying out your tute very soon! LOL!! Thx for putting joy in my day..x
ReplyDeleteThat is one very cute and stylish mini - love it!
ReplyDeleteGreat work Suz. Love it.
ReplyDeletegirl, you are good. I really loved seeing your projects inthe gallery this month, beautiful and made from the heart. Praying for your sister. xoxoxoo
ReplyDelete